Publish Your First Web Page
This tutorial will walk through how to make a regular web page with FirstMagic, and takes about 10 minutes to complete. Do read the Publishing Tips chapter afterwards, for a few tips and tricks on content publishing in general.
Click on any image in this guide to view it full sized.
SIGN IN TO YOUR WEBSITE
 Click the bottom left corner of any of your pages to Sign In. The spot is invisible, but your cursor changes to a pointer when you hover over it.
Alternately, the direct URL to the Sign In Dialog is [www].yourwebsiteaddress.[com]/login.
Sign in with your User ID and password. You will arrive on the Dashboard - your personal Homepage.
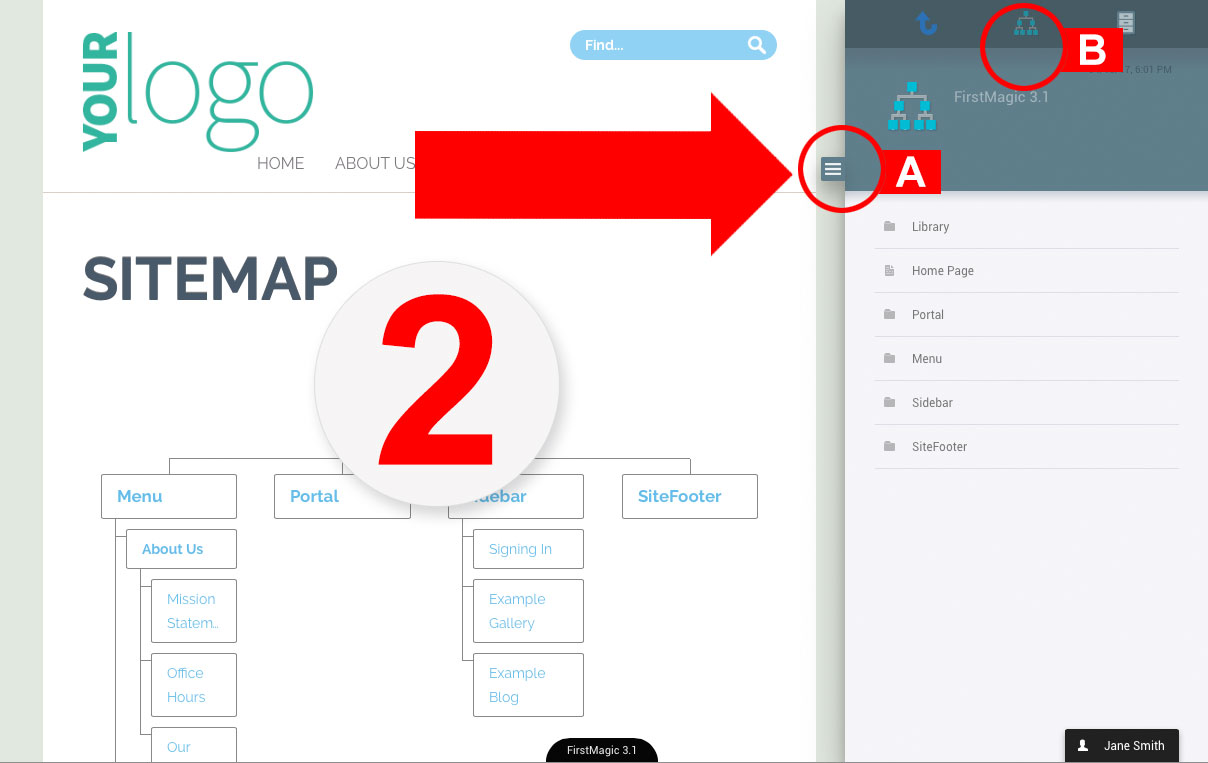
The hamburger Icon in the right margin of all pages you have ownership to [A] opens the File Manager, where you create, edit, delete, move, or unpublish content.
Tip: double-clicking the hamburger icon will push the page leftwards instead of opening the File Manager on top of it.
Take a look at the three buttons across the very top of the File Manager:
- The U-shaped arrow moves you One Level Up in your site's hierarchy
- The Sitemap [B] moves you to the Website Root
- The Archive icon moves you to the Archive - a place you can store unpublished content you do not want to delete.
For this tutorial, we are going to click on [B], to go to the Website Root. This is where the layout of the website is displayed.
FIND A GOOD PLACE FOR OUR WEB PAGE
Once in the Root, let's select the Menu as our destination. To go there, click the Menu Link in the File Manager.
All pages have a Header in the File Manager, where its title and icon is displayed along with Action Buttons that is specific to this page.
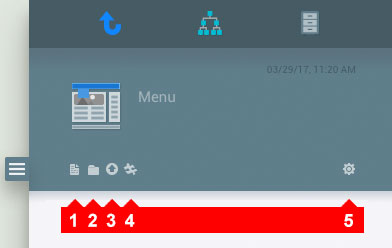
The Menu has five action buttons:
[1] New Web Page - picker for Pages
[2] New Layout - picker for Layouts [folders]
[3] Upload - to get files from your computer
[4] New Widget - to add small apps to your pages
[5] More Actions
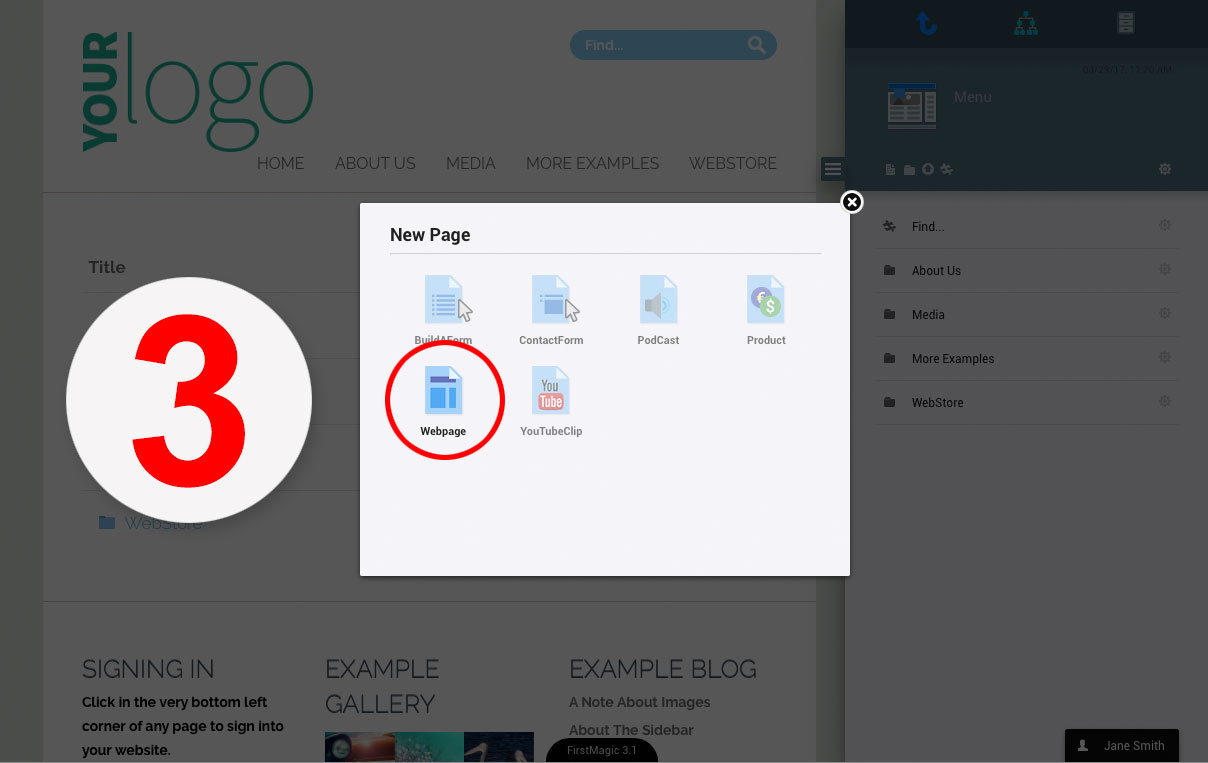
... To make our new Web Page, click the New Page action [1].
CREATE THE WEB PAGE
The New Page action opens a picker with various templates to choose from: we want the Webpage. Click to select it, and give it a title.
The title should be descriptive and not too long: it will become the visible link to your page.
Our new page has only three action buttons:
- Edit - to open the Text Editor and the Image Gallery.
- Upload - to upload images you want to use in this page.
- More Actions - Publish / Unpublish, and Protect / Unprotect this page.
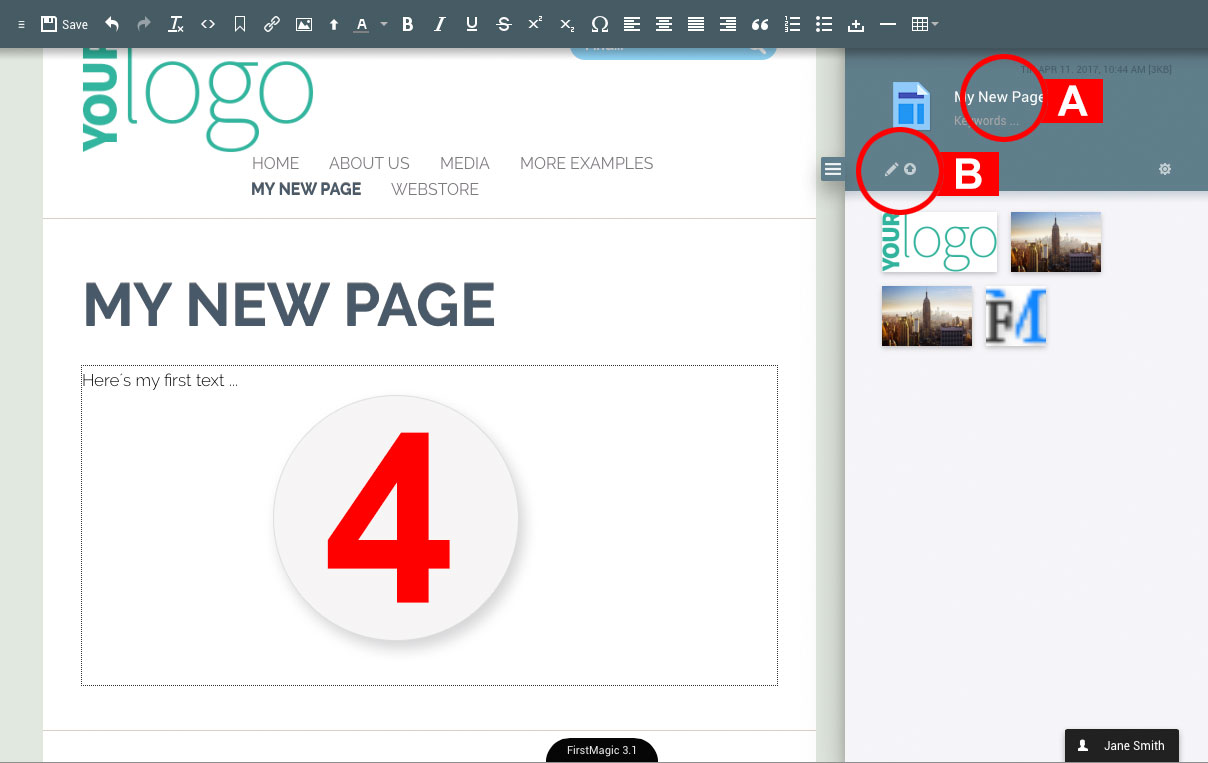
 Just above the action buttons is the page title [A]: you can click on it to edit it. If you double-click there, the page URL opens for editing instead.
Below the title is a field for content Keywords. Fill it in with a short, comma-separated list of relevant keywords you want Search Engines like Google to find. As long as there are no keywords here, your new page will use the global keywords specified in Site Setup instead.
Write something on the new page
Click the Editor Action [B] to bring up the Text Editor [if there's already text on the page you can simply click the text itself].
The Editor Action will activate the Content Area, and also show you a list of all images you have uploaded to the page and to your Website Library [Library Images will only appear if you are the Site Owner].
Just start writing in the Content Area, and a formatting toolbar will appear across the top of the page. Note that FirstMagic has two choices of Editors: if you click the little Hamburger button to the very left of the Editor Toolbar, it will change into a smaller, much simpler toolbar attached to the Content Area itself.
The Toolbar buttons are similar to what you might be used to from an Office program, and keyboard shortcuts that works in Office will work here, too [for example, CONTROL-B will make bold text, CONTROL-S will save the page, and so on].
The Editor Toolbar only exists when the Content Area is active.
PLACE AN IMAGE INSIDE YOUR TEXT
 There are three ways of adding images in FirstMagic: by direct upload, by selecting a picture from the File Manager previews, or by linking to it. Let's do a direct upload.
Click the Up Arrow in the Editor Toolbar to select a picture from your computer. It will drop itself right into the caret position.
When the image appears, it can be formatted with th Image button [left of the Up Arrow]. Use the text align buttons to move it around in your text. You can also drag-and-drop it around, and resize it by pulling on its corners.
When you are happy with the page, click Save in the Text Editor.
Notice that the Top Menu of the site now has a new link - the title of your new page.
TIPS:
- The File Manager will display image thumbnails, and a picture can be inserted in the text by clicking on it.
- Font family and text size are defined by the Design Theme on normal web pages. If you want to freely style your text, ask the Admin to install a Freestyle template; it has more font tools, and will override the design theme.


